
Light sets the mood. Think about a lighting plan for your garden!
A beautiful garden design, the right materials and a great layout are extremely important. But do not forget about your lighting plan! A good lighting plan gives your garden an extra dimension, sets the mood, and ensures that you can also enjoy your wonderful garden in the evening.
You can have a lighting plan created by a landscaper or a specialized Lucide dealer. You may also choose to create your own lighting plan! The step-by-step guide on this page will help you.
1. The garden design
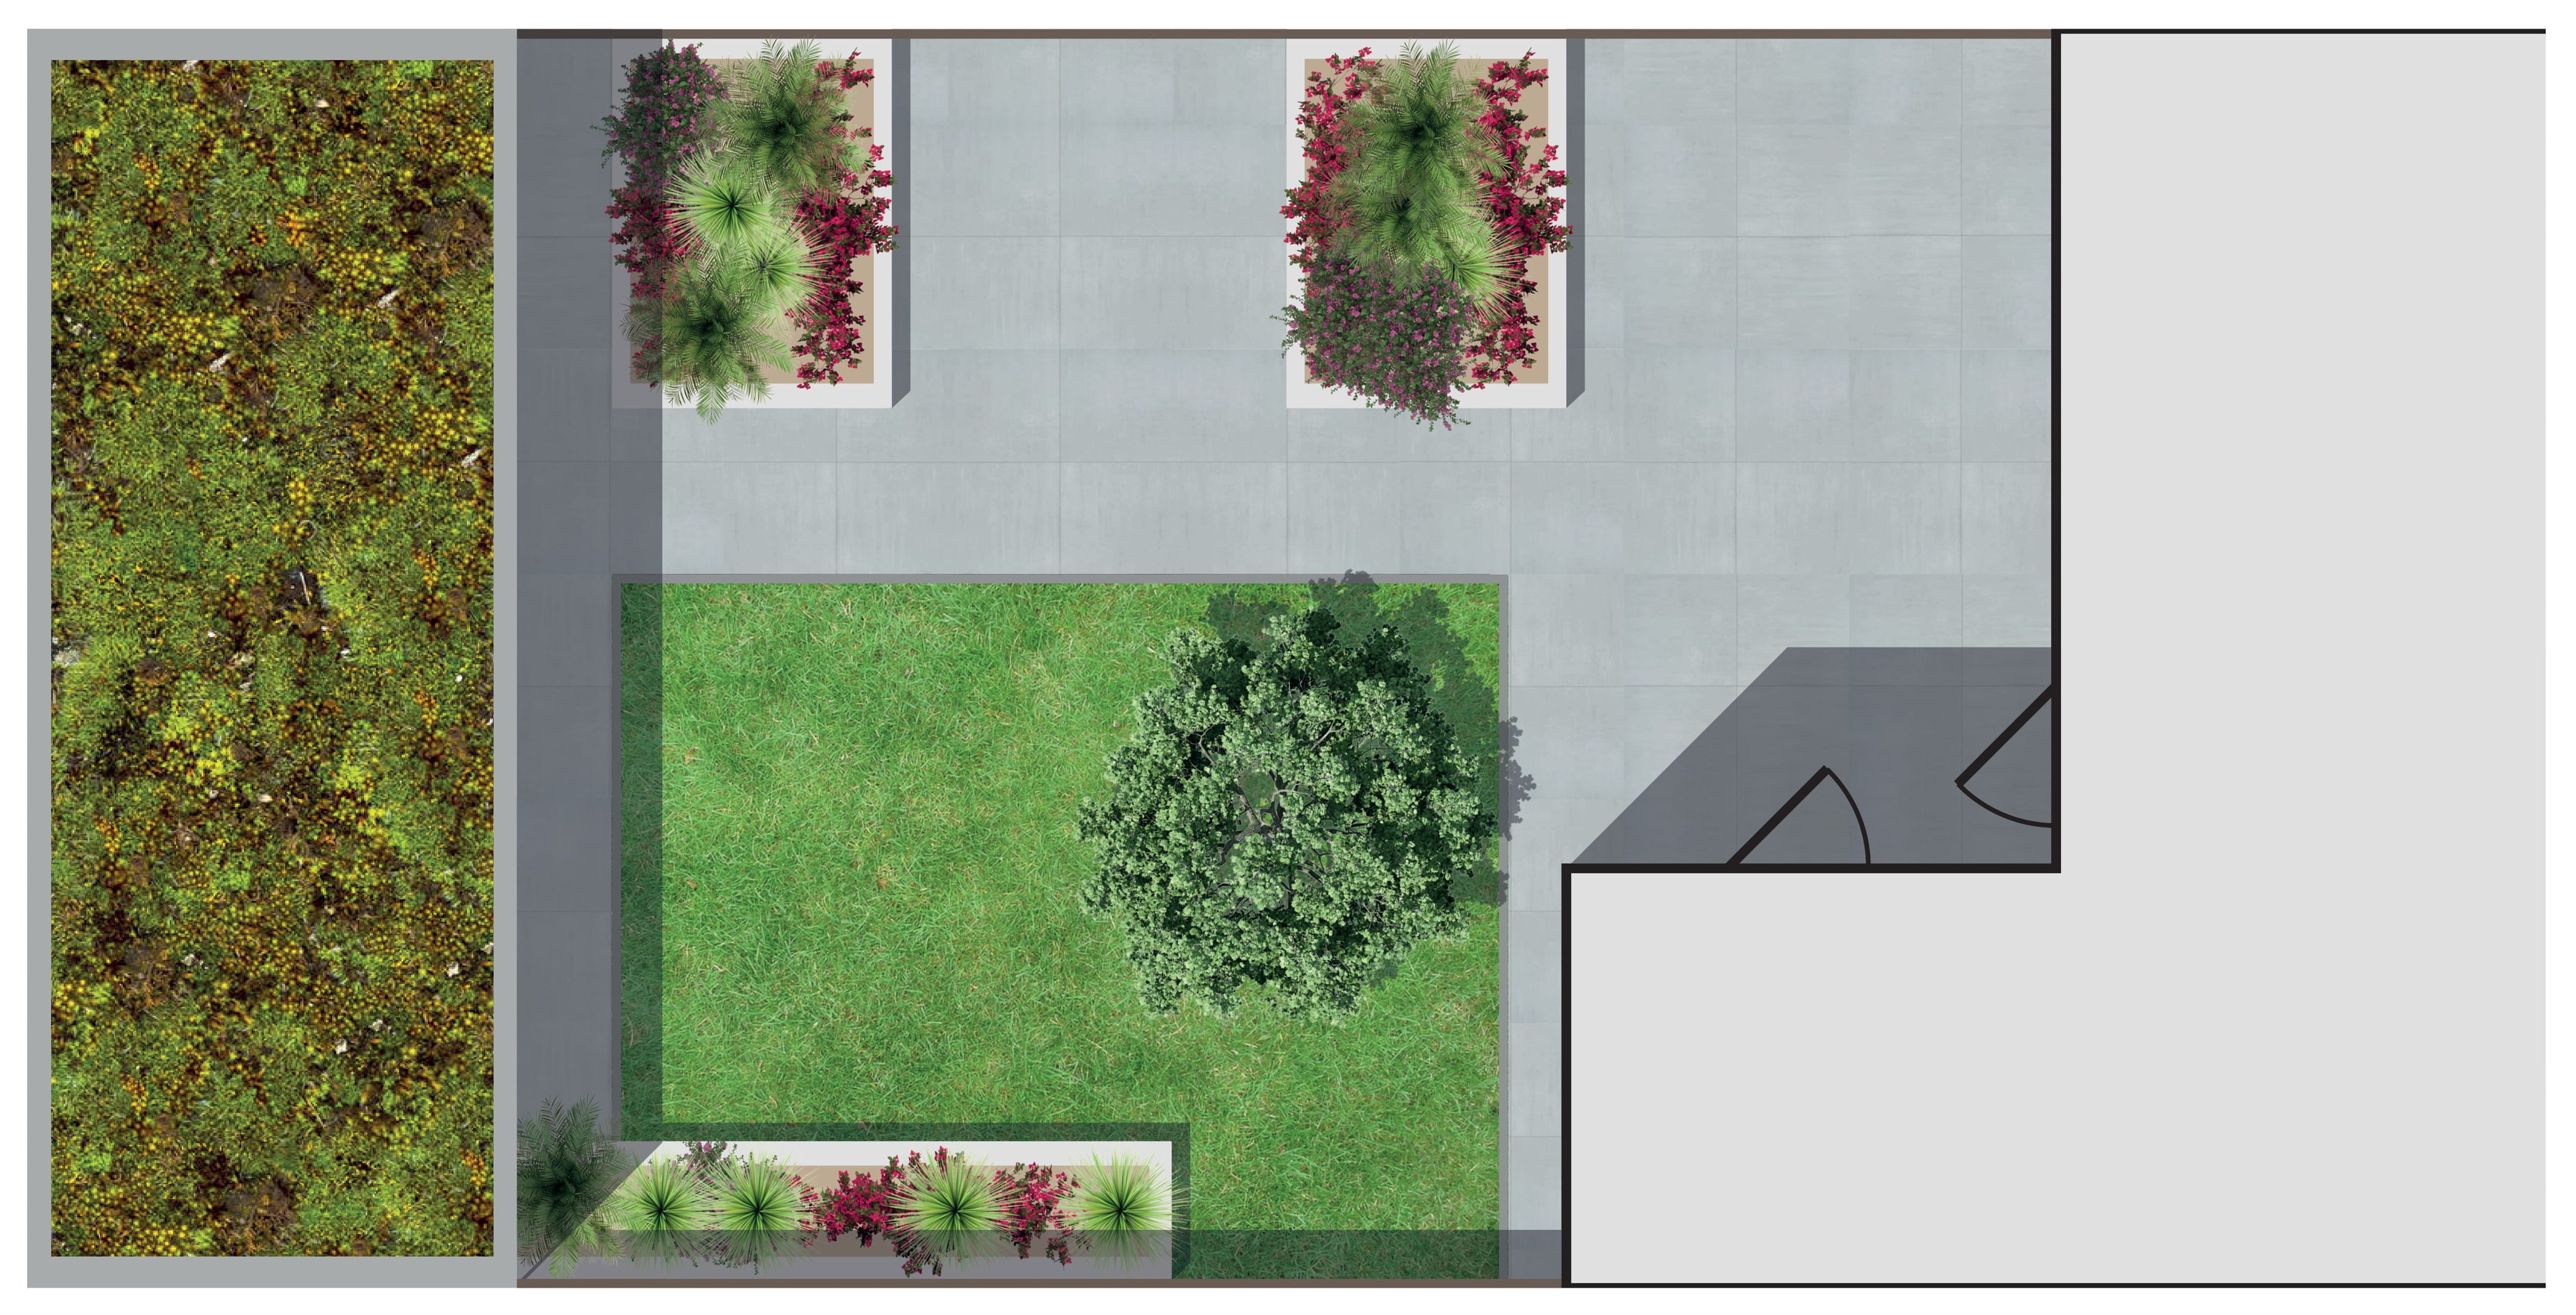
The design of your garden is the basis for your lighting plan. Start with a scale drawing of your garden (most easily done with grid paper). Mark the important elements in your garden carefully on this drawing. Examples of these elements include the terrace, the lawn, the planters, trees and bushes, the paths and any canopy.
2. From garden design to lighting plan
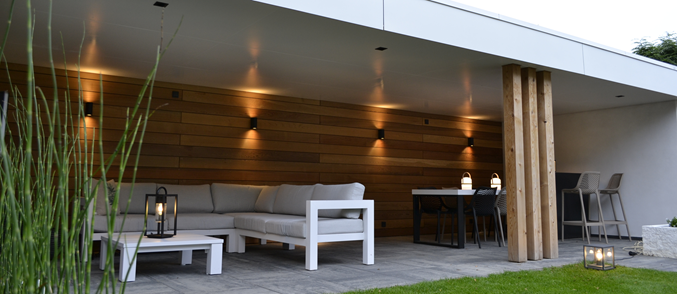
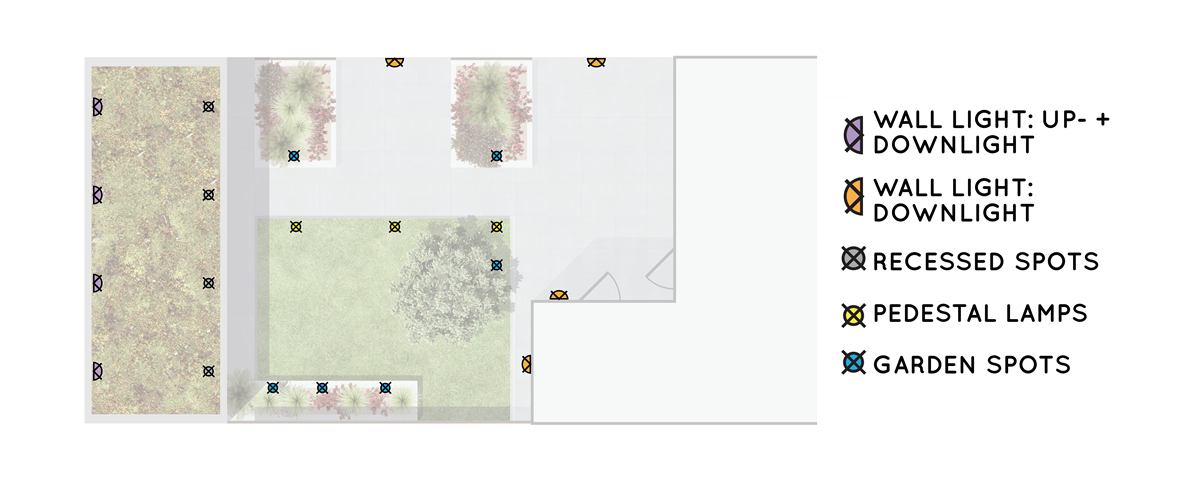
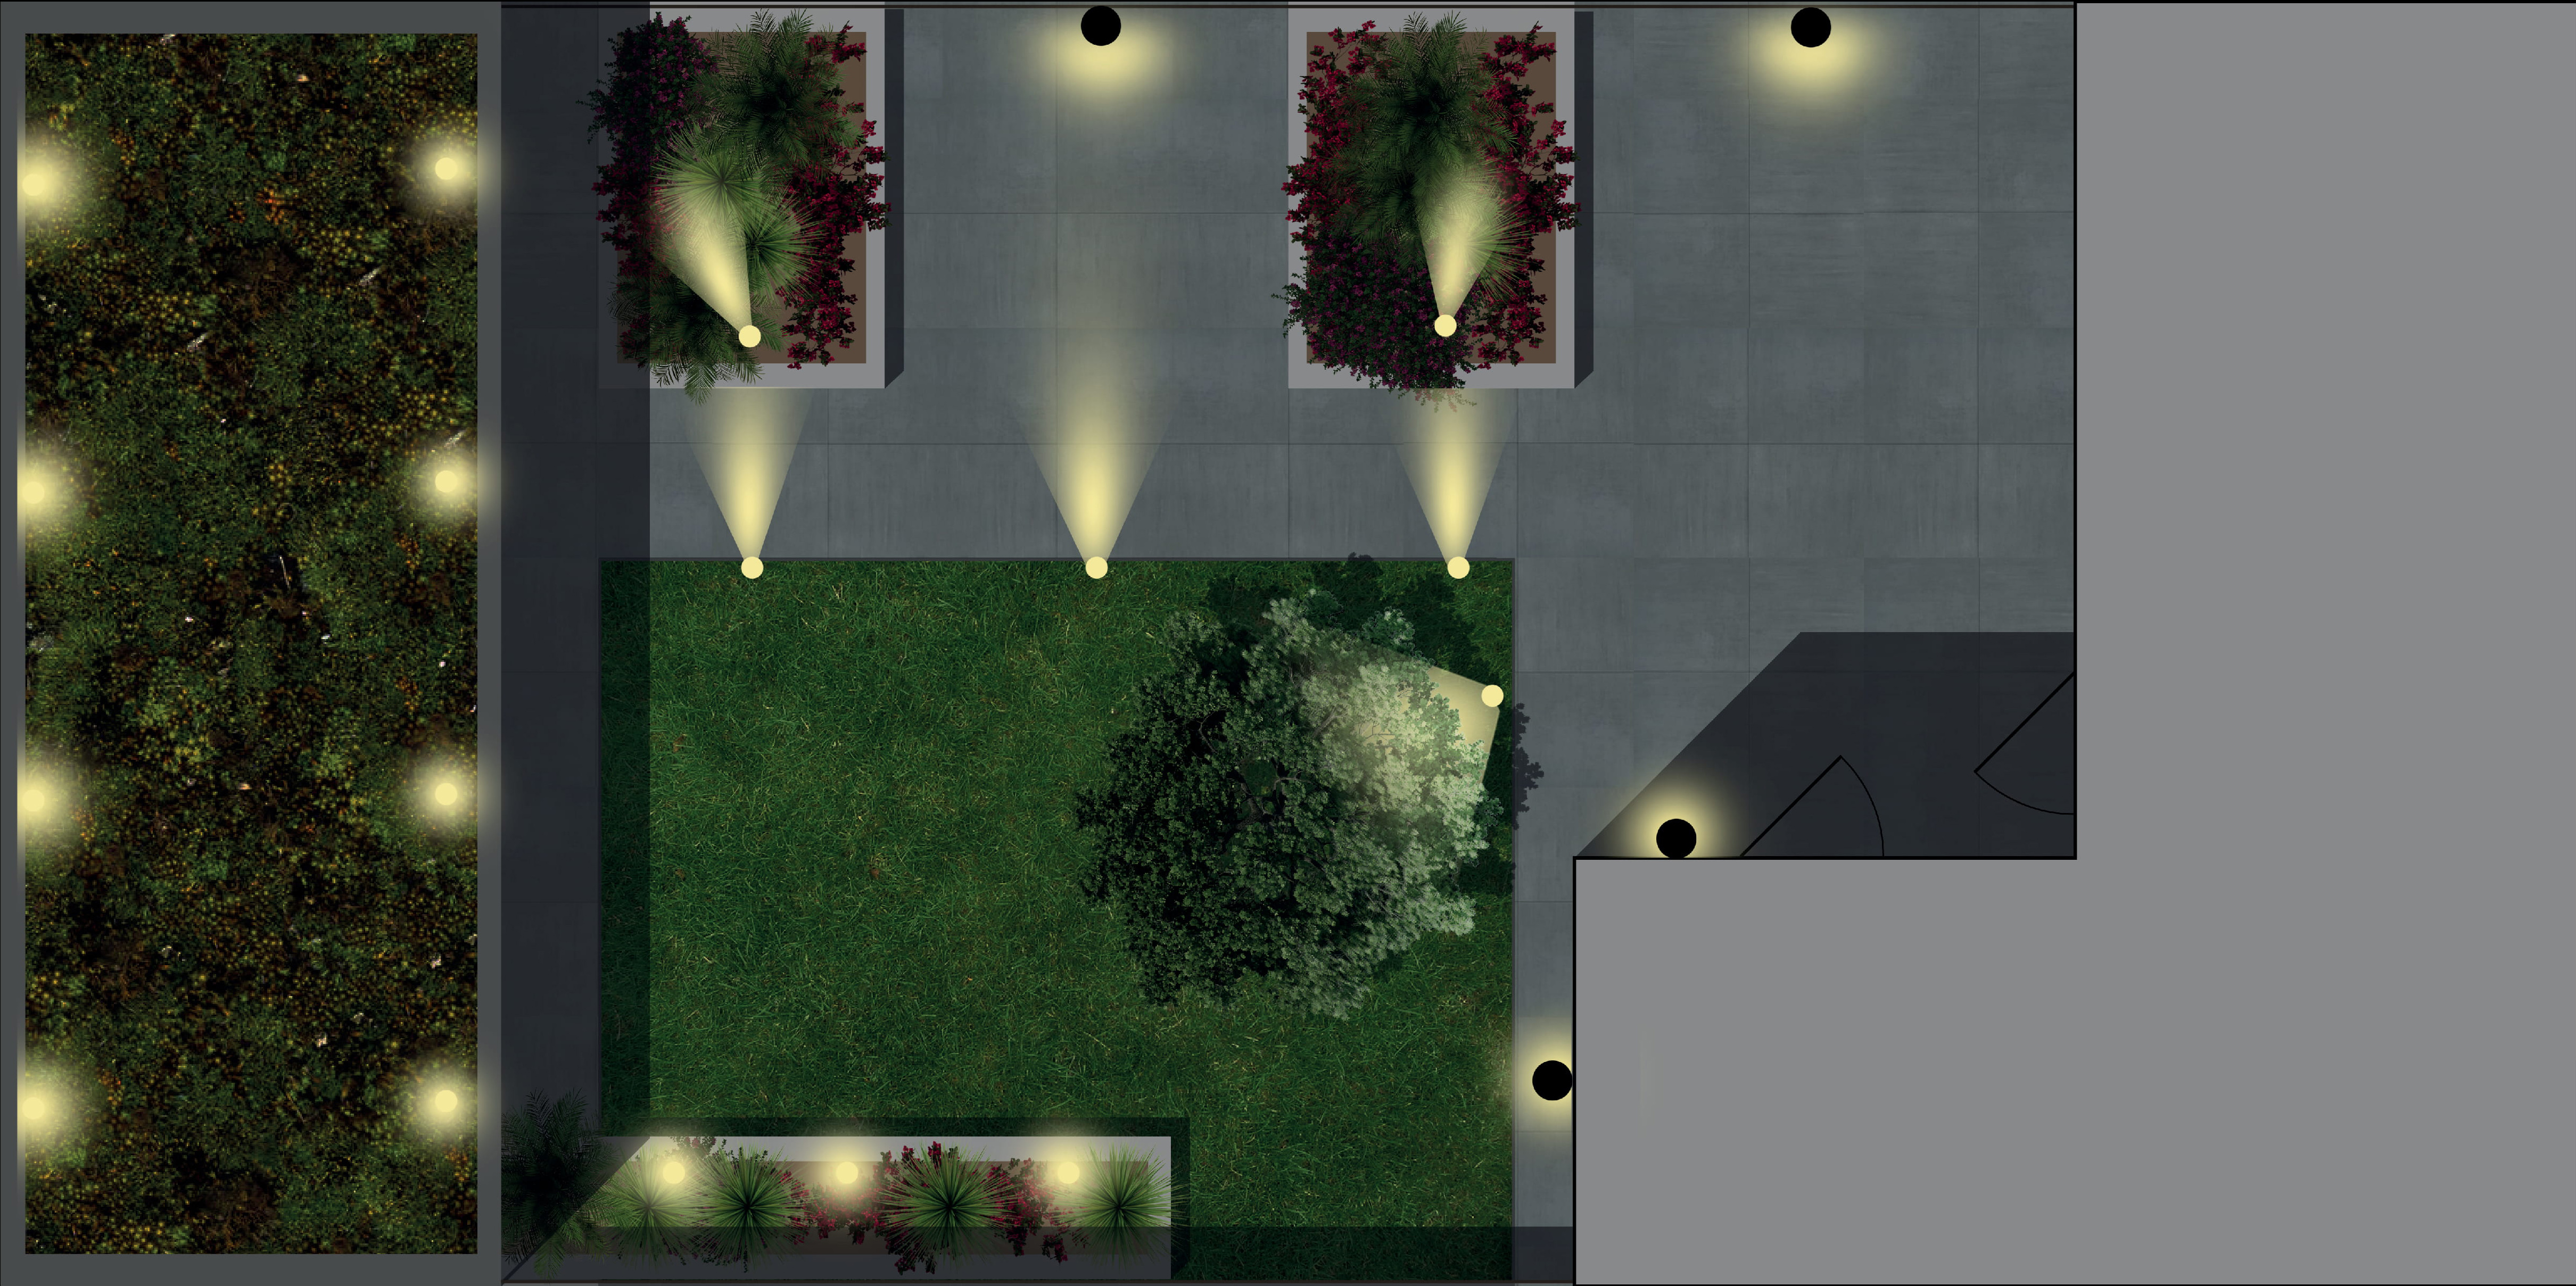
Think about what you want to illuminate, what you should be able to see in the dark and where you would like to sit in the evening. Make sure that you highlight the beautiful elements in your garden. Illuminating a beautiful bush, tree or masonry wall creates a magical and unique atmosphere in your garden. Play with the light and make sure that light is included for different sight lines, which creates depth.
Practical elements that you want to highlight are, for example, the areas by your doors, paths and any elevation differences in your garden.
Tip: If the practical elements to be illuminated are not particularly attractive, then use a motion sensor and/or switch.
If you know where you would like to sit in the evening, make sure there are plenty of lamps there. Better one lamp too many than one too few.
Tip: You can also use a dimmer, so that you can adjust the lighting and mood as you like!
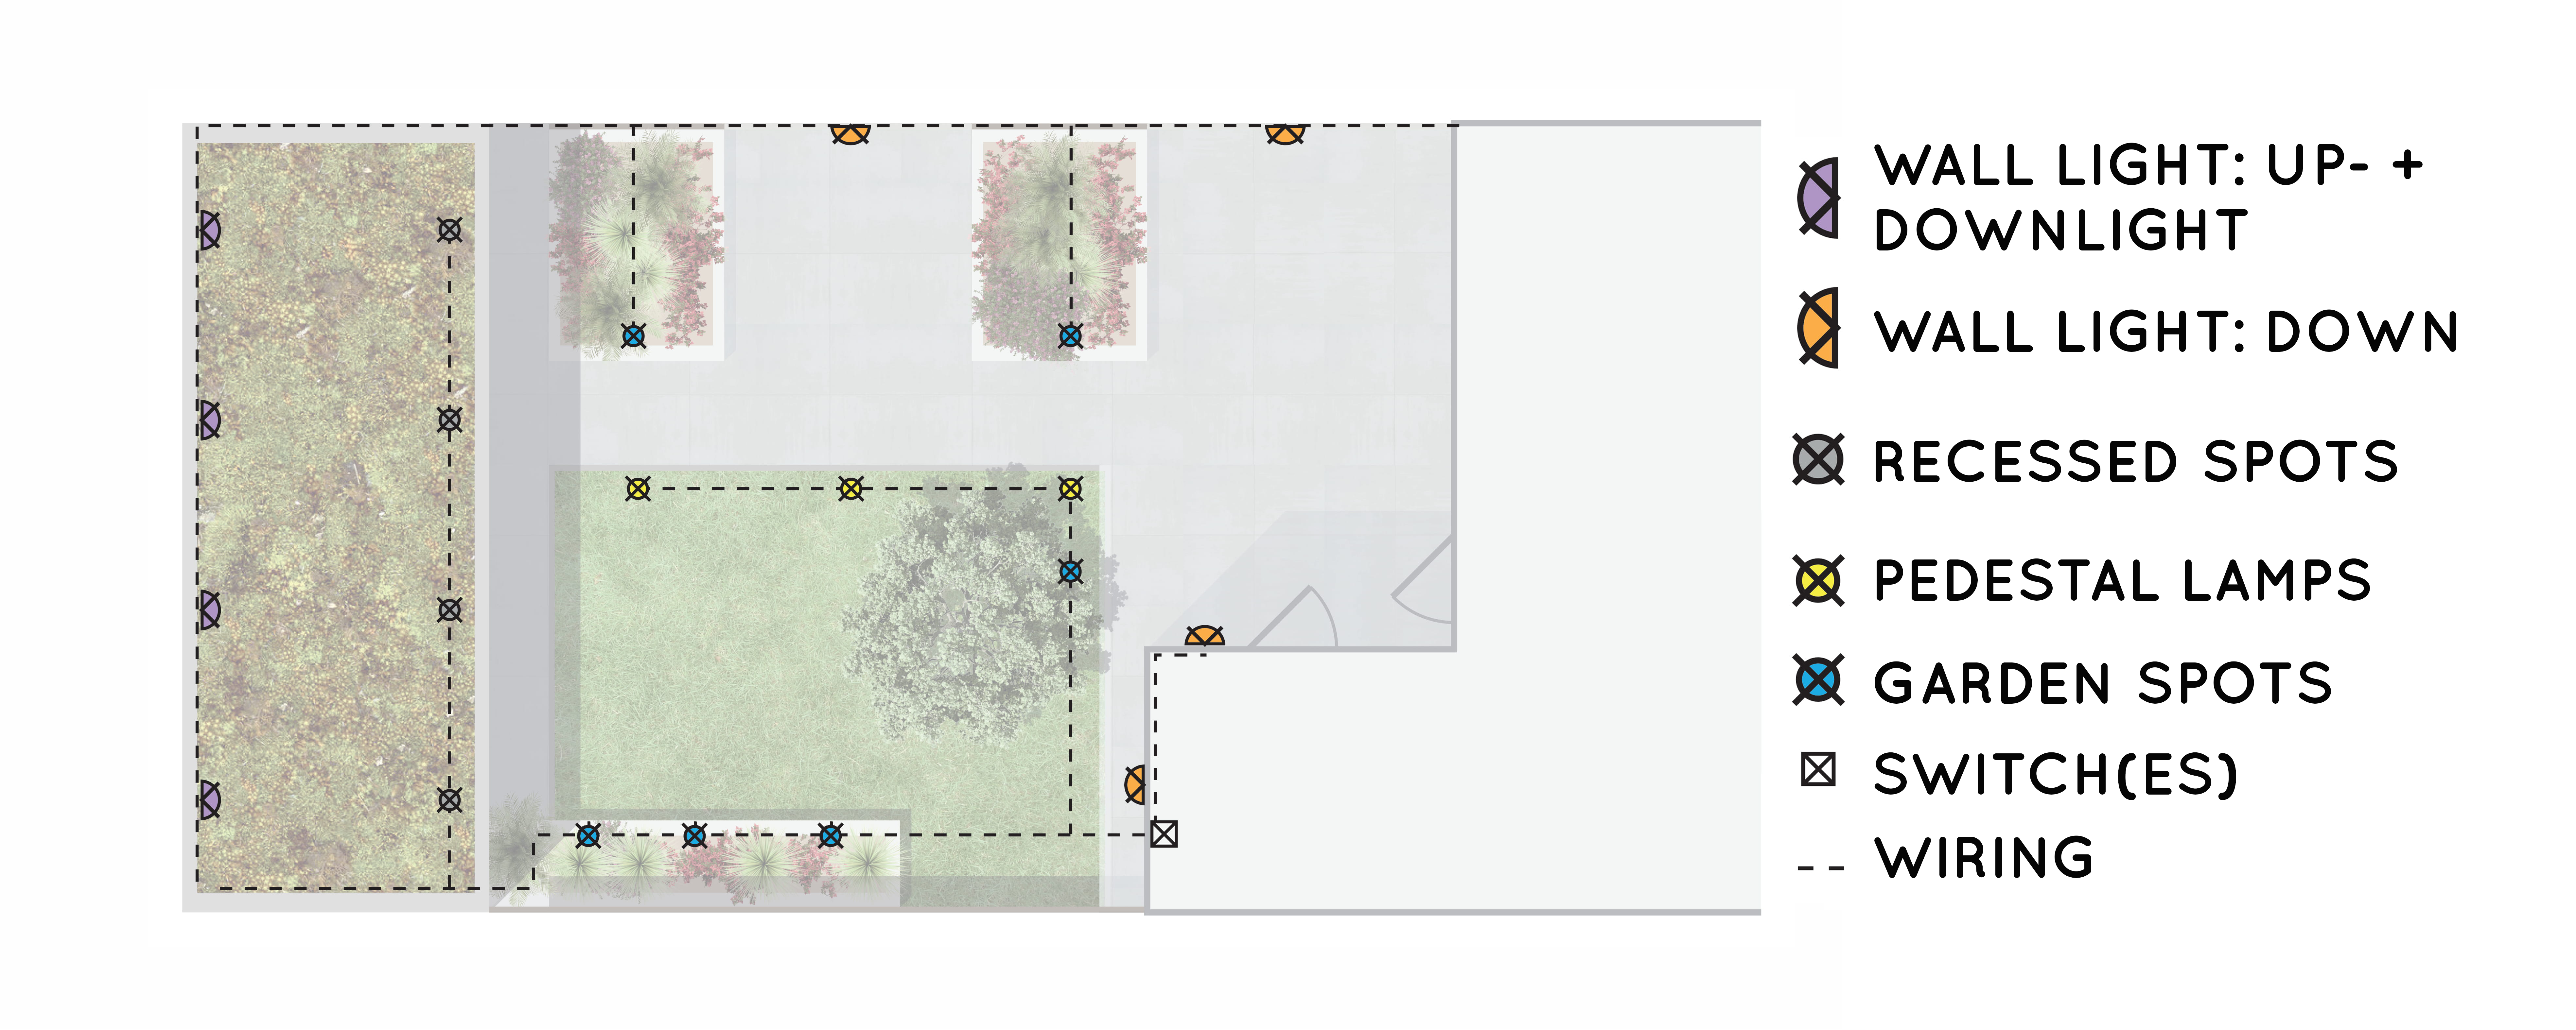
3. From lighting plan to installation plan
This important step is often overlooked and is, in our view, essential. Ensure that you have a good installation plan, where you mark in your scale drawing, where the power will come from and how you will bring it to your selected locations. Also include other important points in your lighting plan, like saving energy, for example. Another option are the new outdoor sockets, discover them here.
Ask yourself the following questions:
- Where will I get my power from?
- Which lighting do I want to be able to operate separately, and what part can be connected serially?
- Do I want to operate my lighting or part of it with a day/night sensor?
- Do I want to operate my lighting or part of it with a motion sensor?
- Do I want to be able to turn off my lighting myself with a switch?
- Do I want my lighting to turn on and off with a timed switch?
A personal favourite is the combination of a day/night sensor with a timed switch. Set the timed switch, for example between 07:00 and midnight. Using the day/night sensor will then ensure that the lighting only comes on during this period if it also dark enough. This ultimately prevents wasting a great deal of energy.
Tip 1: Draw your final power lines and any separate lines in your scale drawing, and keep the drawing. This will facilitate the placement of extra lighting later if needed.
Tip 2: If you find day/night sensors difficult to use, a day/night sensor on your lamp not aesthetically appealing or have you already placed your lamps? Consider the Twilight Sensor bulbs from Lucide. These decorative bulbs have an integrated day/night sensor, hidden in the fitting.
4. Type of light
Once you have gone through the steps above, then determine per element the type of light that you need. You can choose direct, indirect, diffuse or accent lighting. Make sure that you include the type of light, the lighting direction and the intensity of the light in your plan. Highlighting a large tree, for example, will only work beautifully with a quite powerful beam. Your path lighting and accentuating height differences can be achieved with less powerful, softer lighting. And on your terrace or under your canopy, you are best served by diffuse lighting with a nice light distribution.
5.Type of lamp
Based on the type of light per element, choose the type of lamp. There are various options for achieving the same effect. Choose what suits you and what you think looks good. You might illuminate your terrace, for example, with a pendant lamp, ceiling lamp or wall lamp, or with a beautiful table lamp or floor lamp. In addition, you might choose decorative wall lighting or sleek, modern up- and/or down lighters.
Tip:
Only use an up-and-down lighter halfway up your wall or fencing. That creates a beautiful hourglass on the vertical surface. Illuminating the sky is not very useful; choose a down-lighter for those situations.
6. Choose your outdoor lamps.
Now that you have gone through all the steps, there is only one thing left to do: choosing your outdoor lamps. See Lucide’s broad selection of outdoor lamps and find out which lamps suit your personal style and preferences. Unable to find the lamp that you want? Let us know via the contact form. Our collection is constantly changing, and we are very interested in your ideas!


Didn’t find the lamp you want? Let us know via the contact form. Our collection is constantly changing, and we are extremely interested in your ideas.
Ask your question here!